

I Recreated Claude Tag with LightVela and Set Up a “Digital Employee” in Slack
Recently, Anthropic launched Claude Tag. In any Slack thread, you can @Claude and it will continue the discussion from there. It can read channel context, use tools from the organization, remember work-related information, and proactively @ you when a task is complete or a human decision is needed.
Anthropic is building this feature internally as its next breakout product. Borrowing Andrej Karpathy’s framing, Claude Tag suggests that AI products are entering a third stage: Chat, then local coding agents, then AI coworkers. For a deeper look, see Anthropic's official Claude Tag announcement.
In the past, we often had to leave the place where work was happening, open a separate AI chat, explain the project context again, and copy the result back into the group. Claude Tag puts an agent inside the communication tool the team already uses every day. Tasks start in the discussion, and the results return to the same thread, where everyone can see them and continue the work.
Claude Tag is still in beta, is available to Claude Team and Enterprise plans, and requires an organization owner to complete the setup. It may not be the right fit for every small team yet, but the idea is worth borrowing.
I work on growth products at LightVela, so I usually keep a close eye on metrics such as registrations, activations, and active users. Another kind of friction is just as common: project progress, product ideas that appear unexpectedly, and who agreed to follow up on what are scattered across chat history. A few days later, the information has already been buried by newer messages. So I used Slack and LightVela to build a workflow that is closer to how our team works.
This tutorial will walk through three things:
- Send the latest data to Slack on a daily schedule.
- Regularly summarize key progress and action items from group chats.
- Sync those summaries to Notion as an always-growing team knowledge base.
Here is the configuration process I went through. The steps are not complicated. Permissions and output format usually take the most thought, so it helps to decide those two things before you begin.
Step 1: Activate a LightVela plan
LightVela is a cloud-hosted Agent product that lets you deploy Hermes Agent quickly, with memory management, scheduled tasks, Skills, and persona settings. Alongside its built-in chat entry point, it can connect to Slack, WhatsApp, Telegram, Discord, and other channels.
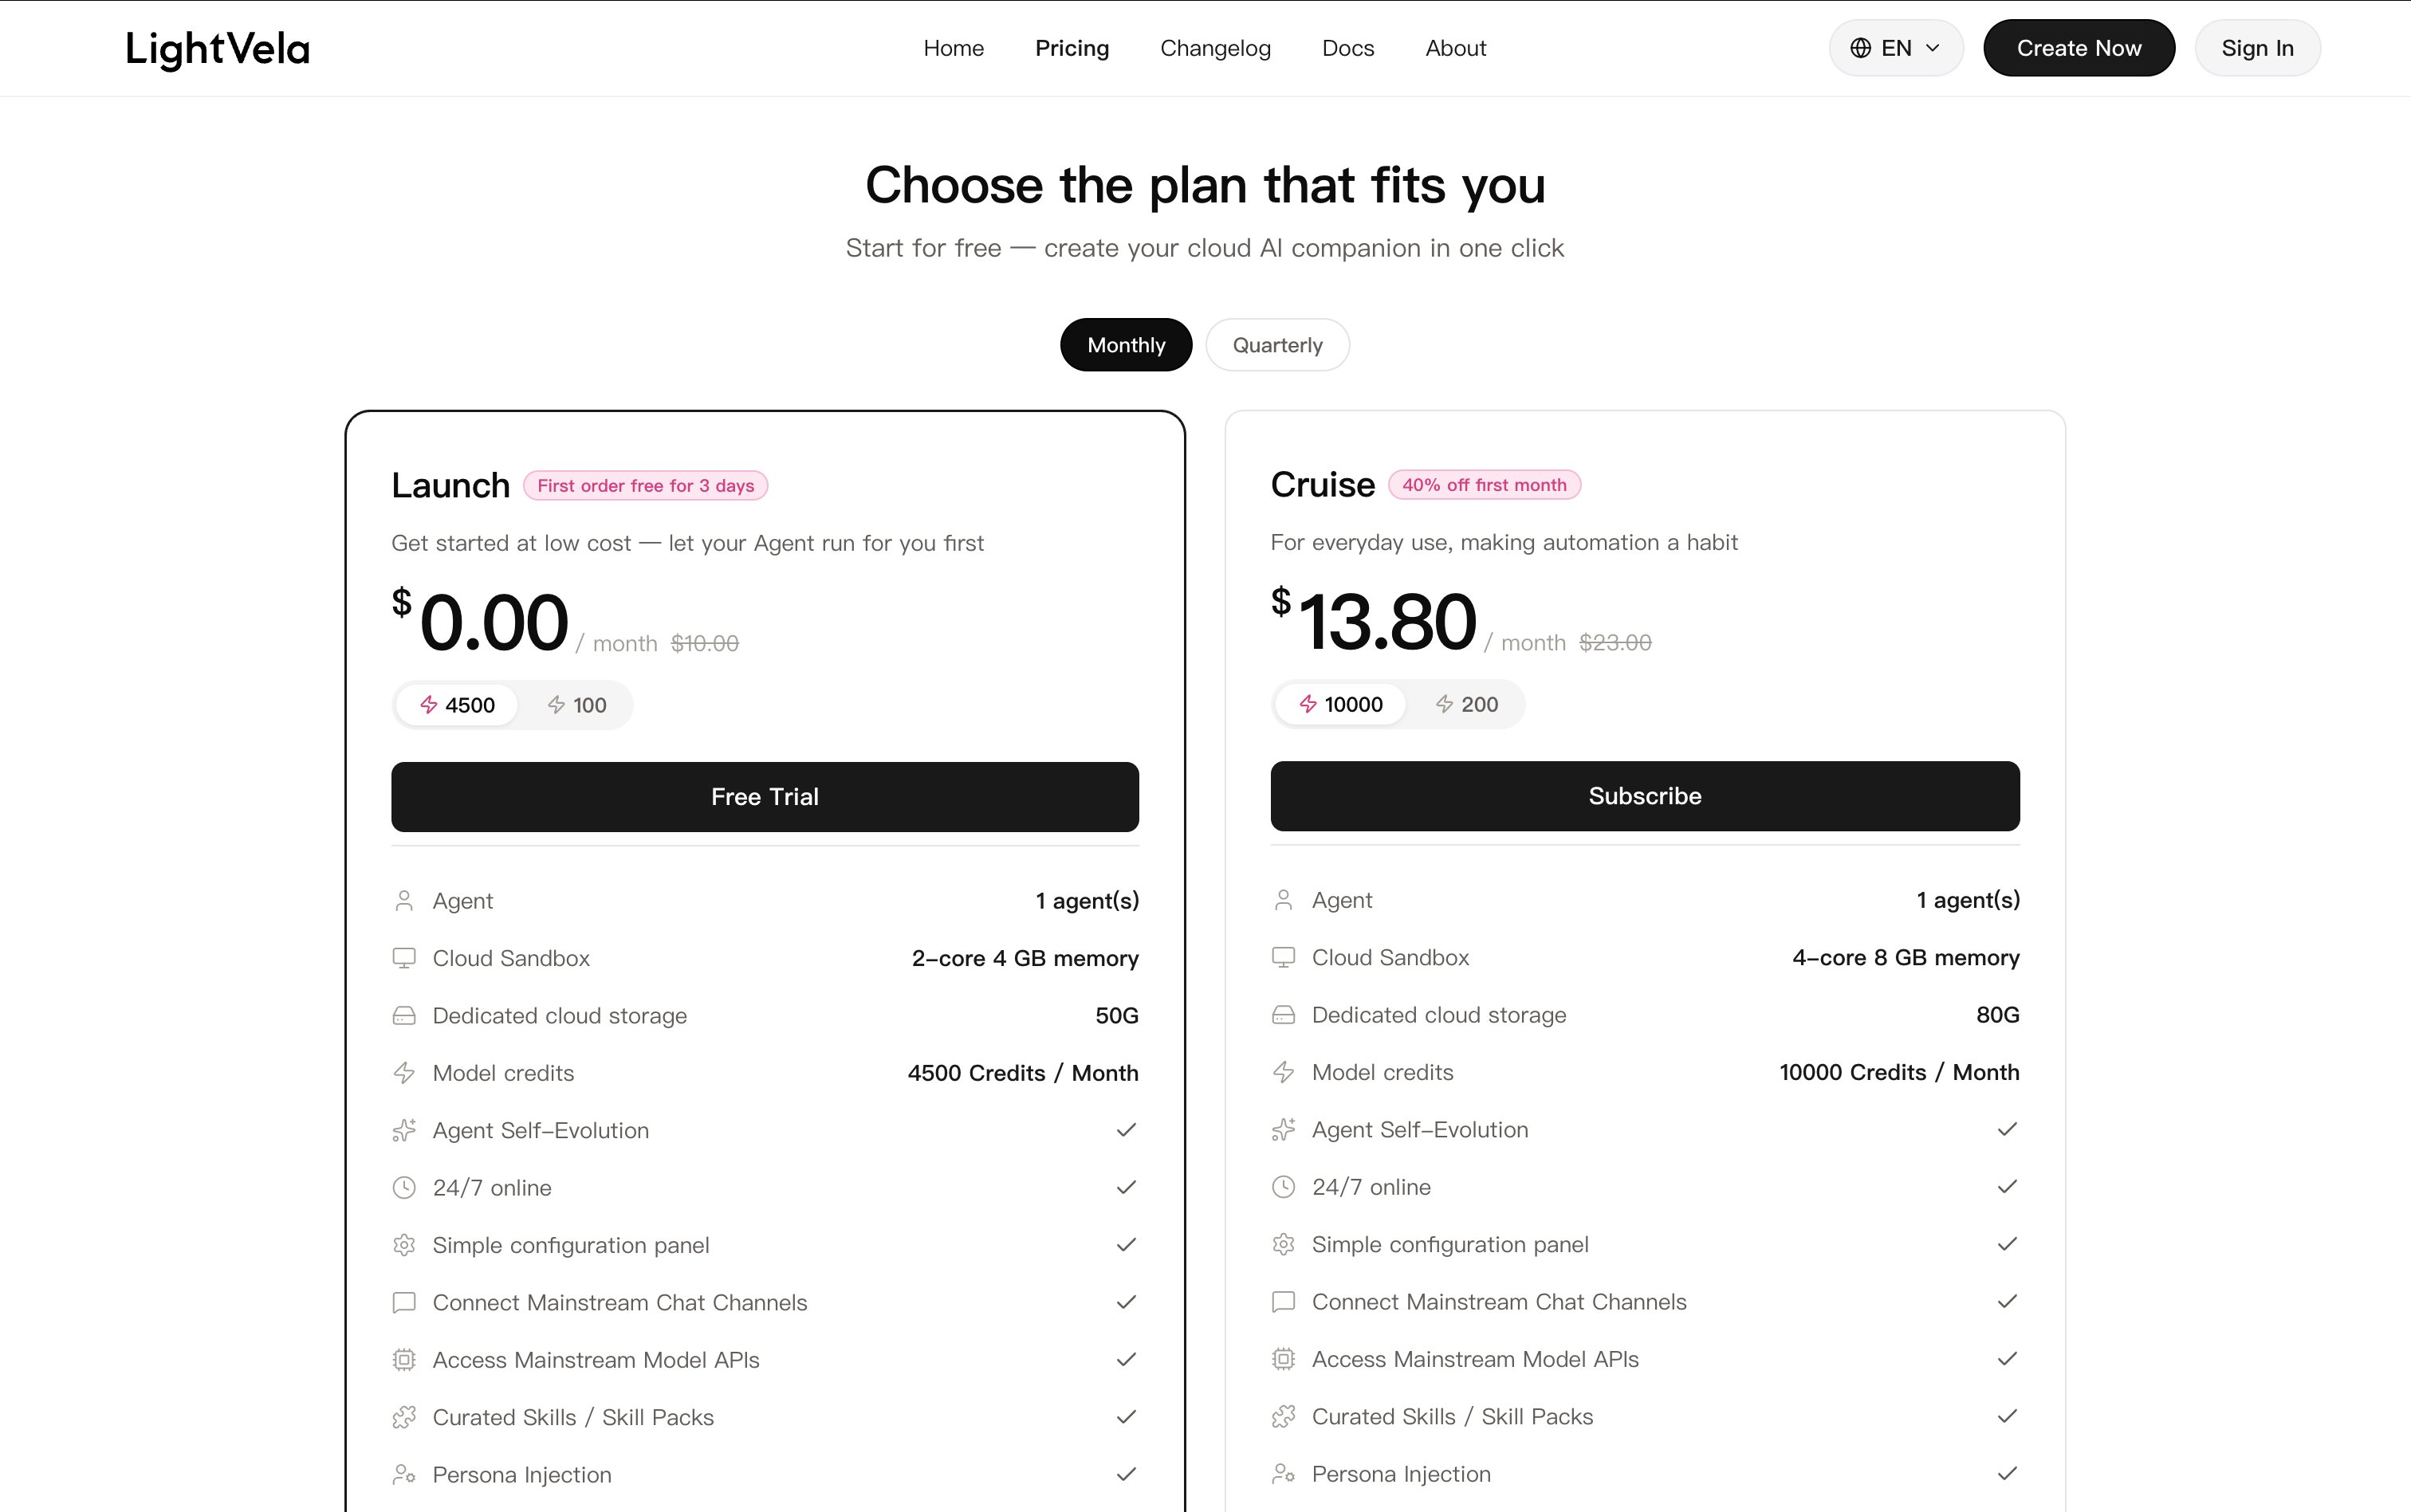
Open the plan page, choose a version that fits your needs, and start the trial. Trial duration and plan details may change, so use the information shown on the page as the source of truth. The current activation flow supports Google or GitHub sign-in, and the trial does not require a credit card. Visit LightVela to get started.
Step 2: Connect LightVela to Slack
After activation, open the My Agent configuration page, choose Slack under Channel, and follow the Guide to complete the Slack-side setup. There are several permissions to configure, so it is worth completing them in one pass and checking each item. Missing even one permission to read or send messages can block later group-chat workflows.
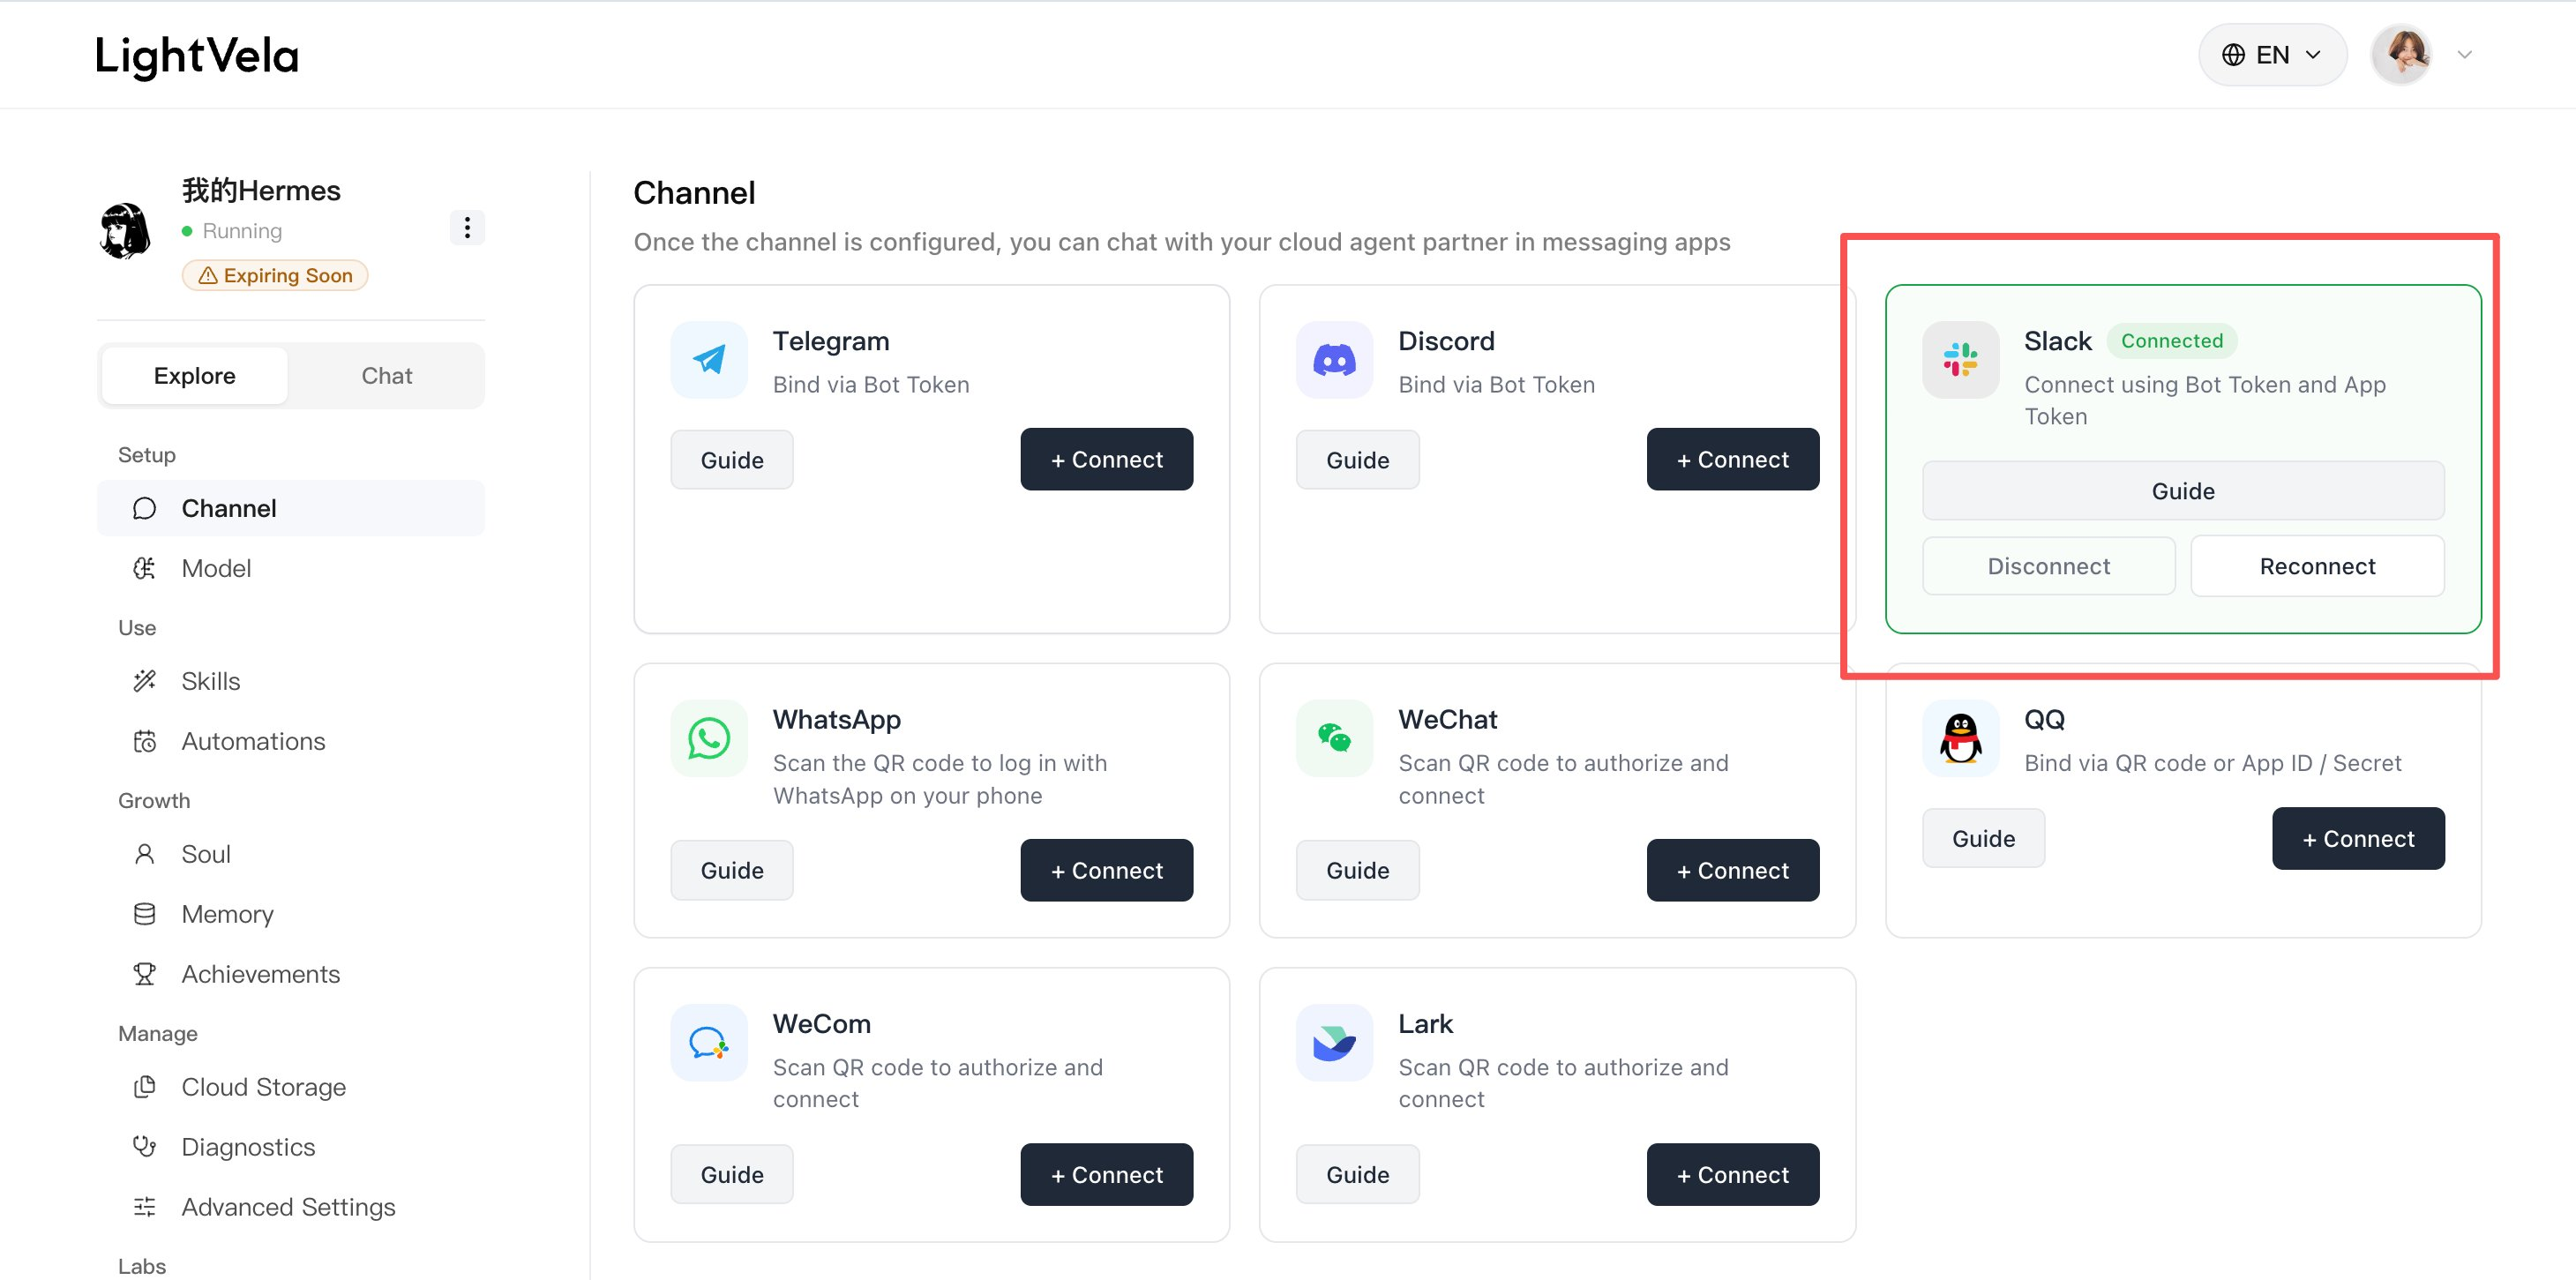
My setup is not limited to private conversations. I also add the Agent to work groups and let it read the conversation history. During configuration, confirm that three types of capability are available:
- Read message history in the target channels and group chats.
- Send messages in channels and respond to @ mentions.
- Access the data sources or tools needed for later tasks, with permissions limited to the minimum scope.
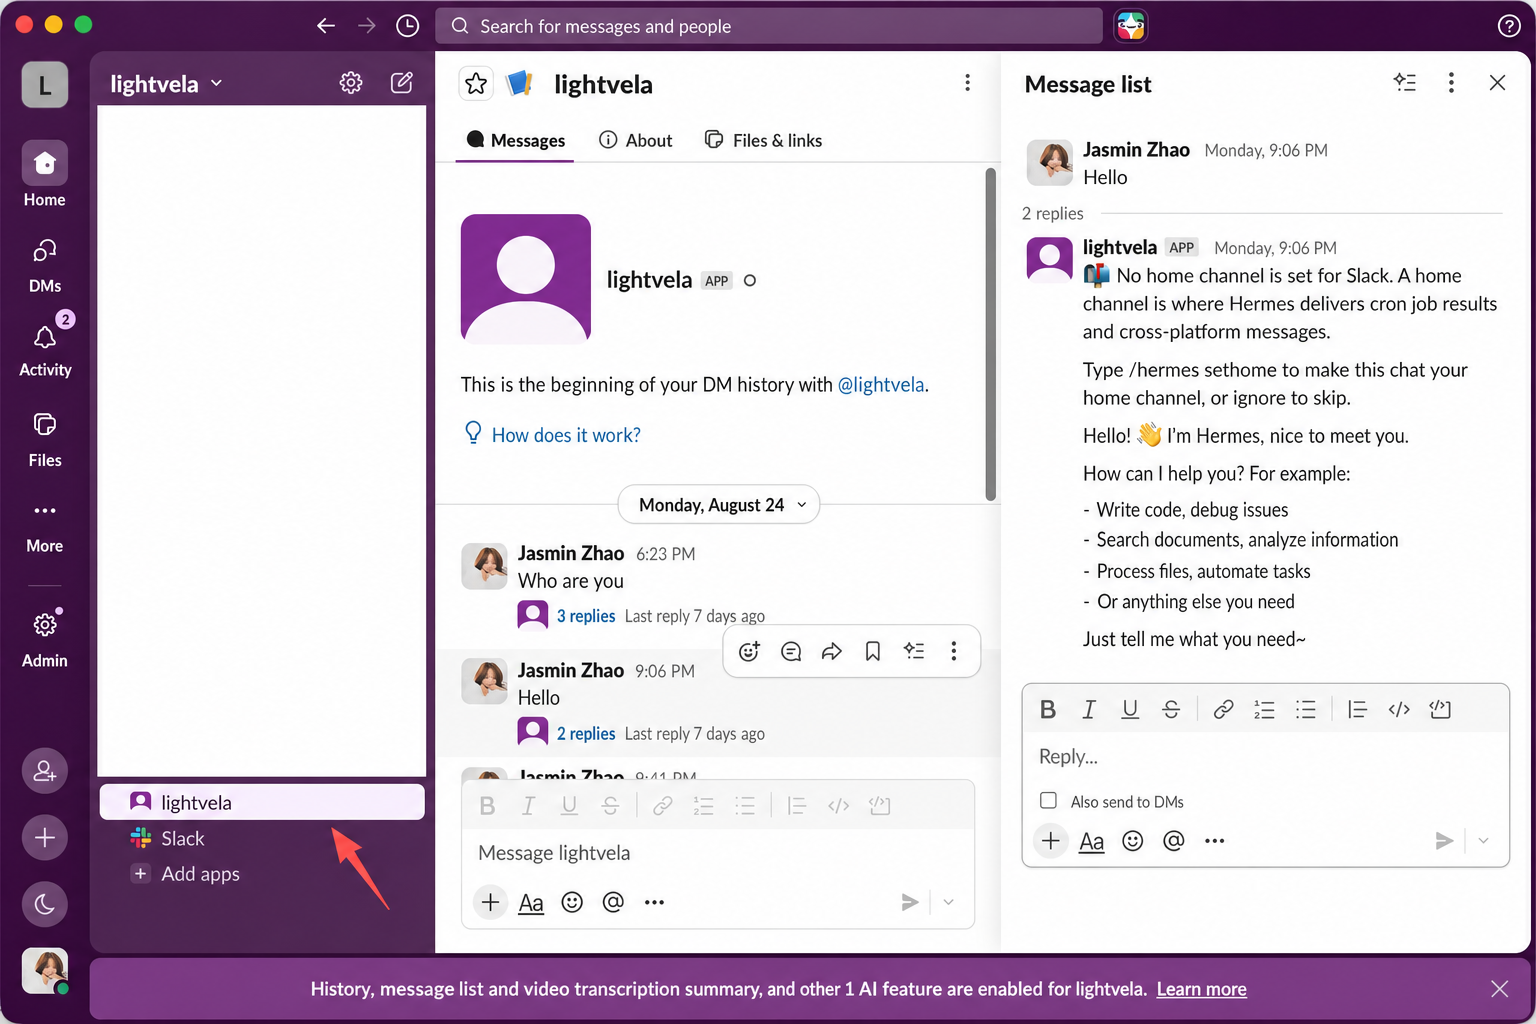
Once the connection is complete, return to Slack and start a conversation with the Agent. You can customize its name to match your team’s habits. I named mine lightvela. Send a simple message first to confirm that it can reply normally before continuing with the rest of the setup.
Step 3: Install a data-monitoring Skill
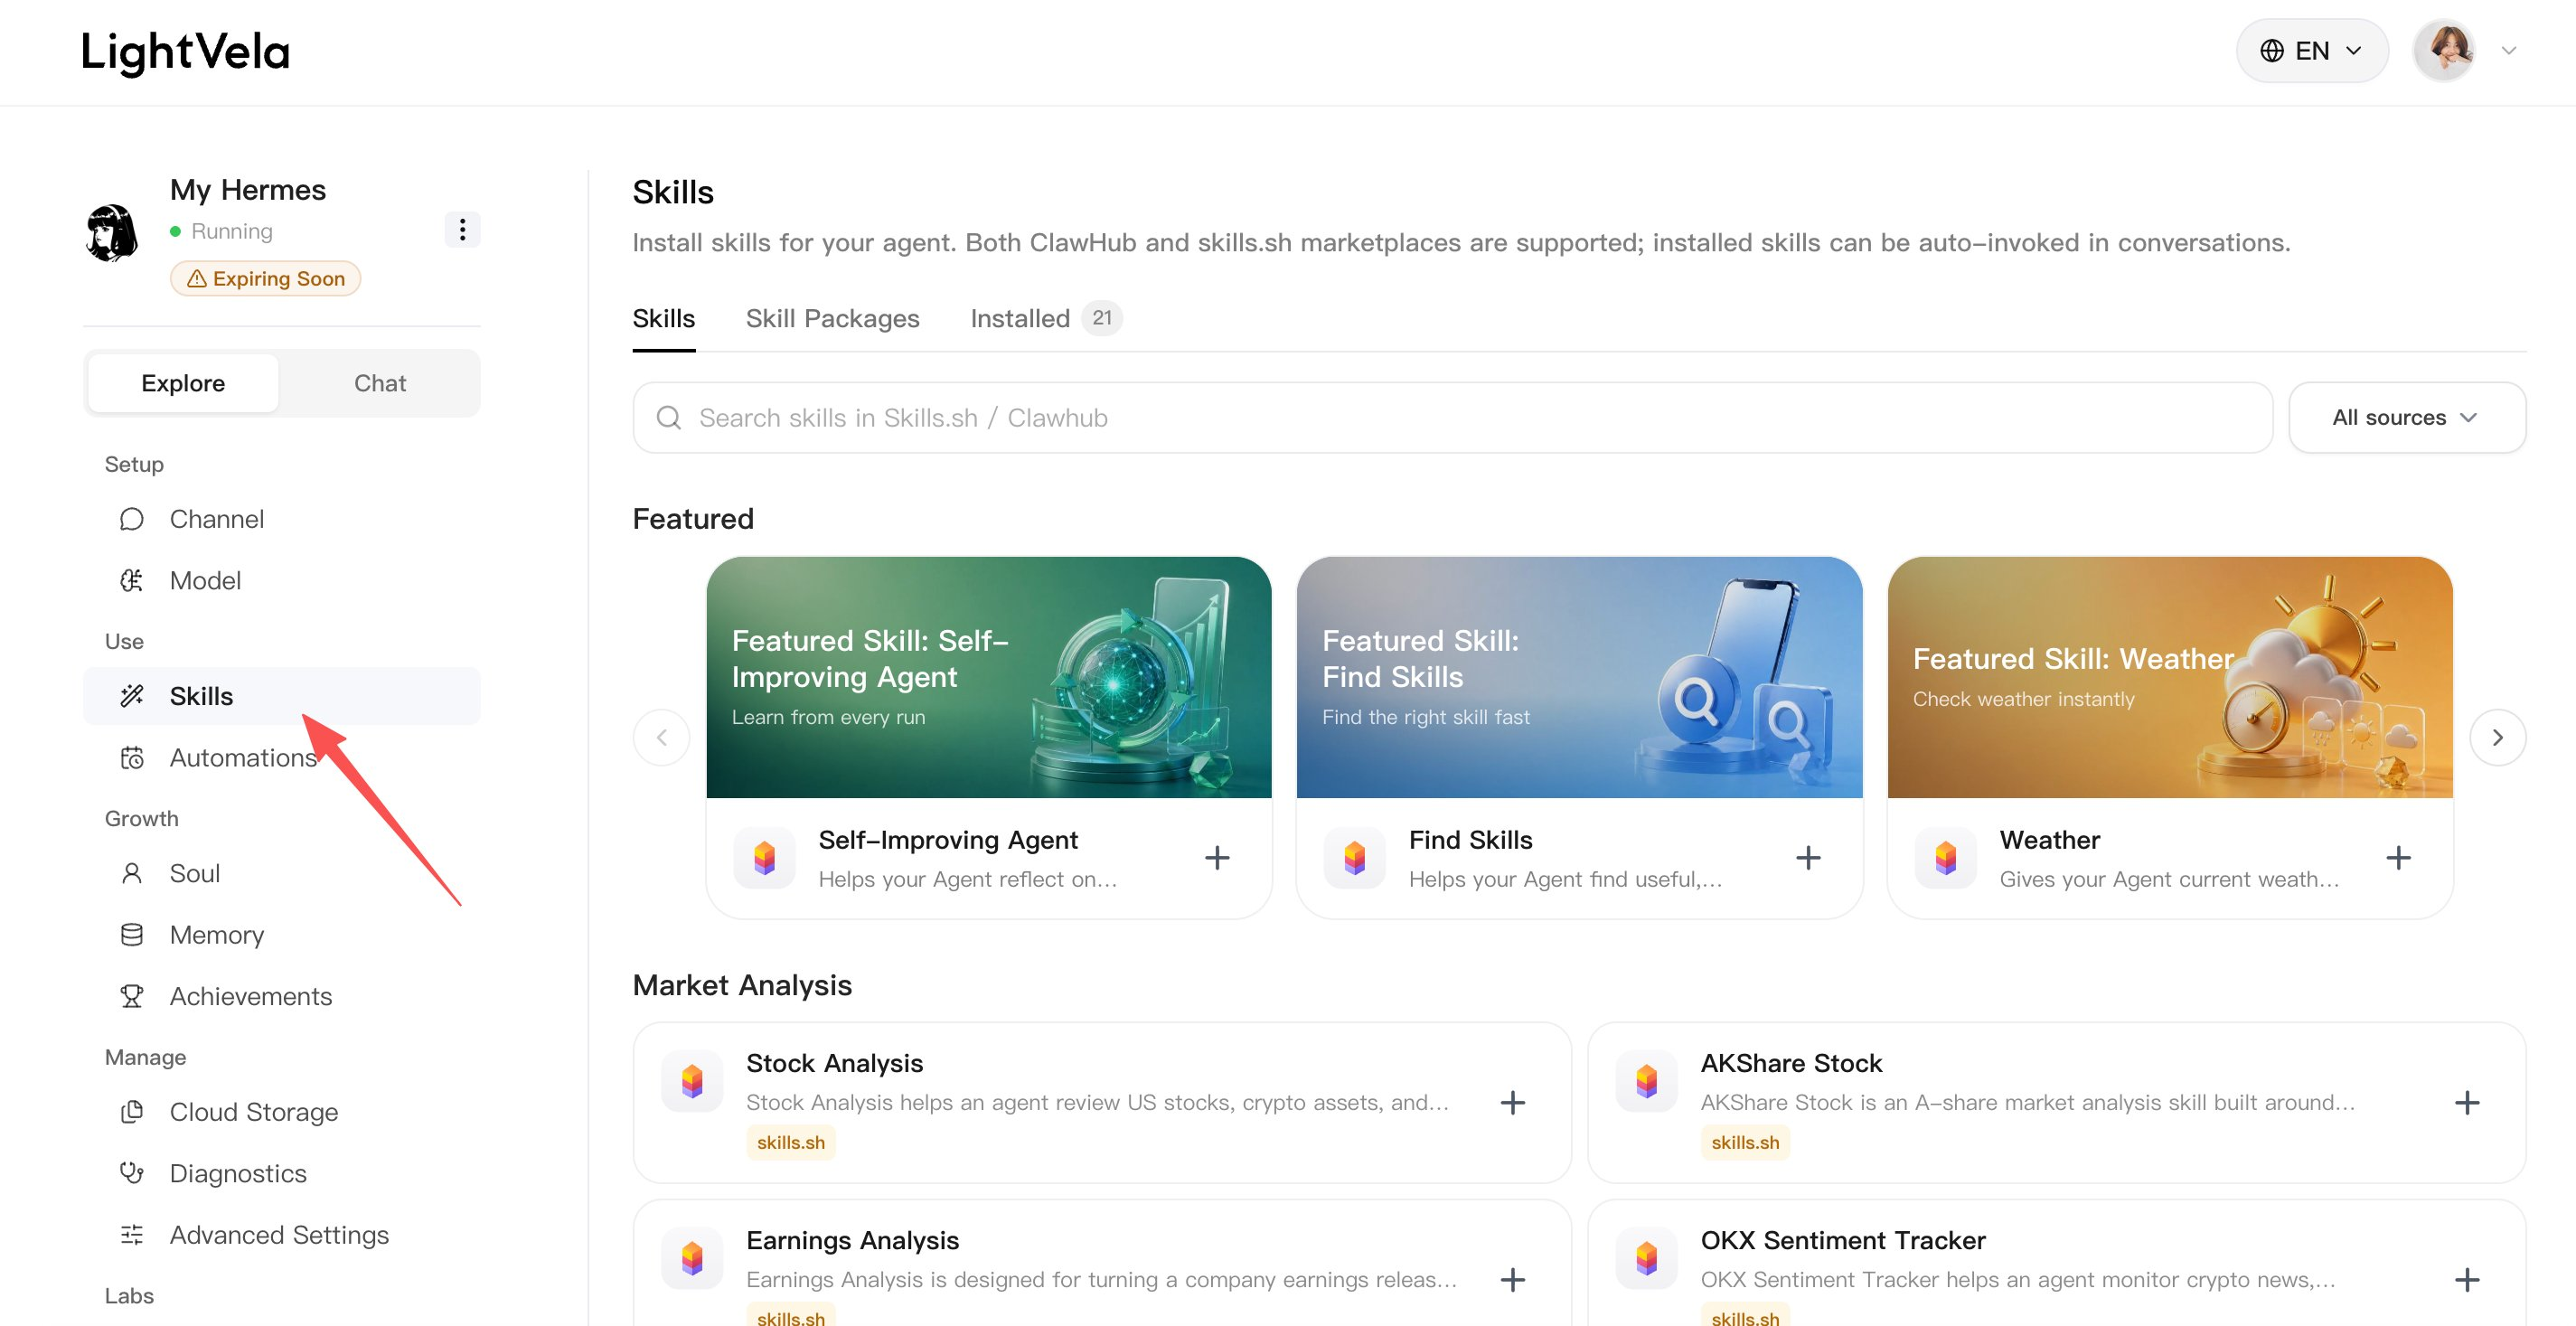
LightVela provides two ways to install a Skill. Public Skills can be searched directly from the Skills tab, with sources including skills.sh and ClawHub. For common use cases, installing from there is the simplest option.
For this workflow, I needed lightvela to read internal team data, and I wanted to standardize the daily report format. I packaged the data interface and output requirements into a private Skill. Because the API data is only for team members, I did not upload the Skill to a public community. Instead, I sent it to lightvela in the conversation and asked it to install the Skill.
After installation, do not jump straight to a scheduled task. Run it manually first. Ask the Agent to fetch a daily report for a specific date, then check whether the numbers are correct, the fields are complete, and the format is easy to read in Slack. A successful one-off run confirms that the Skill and permissions are configured correctly.
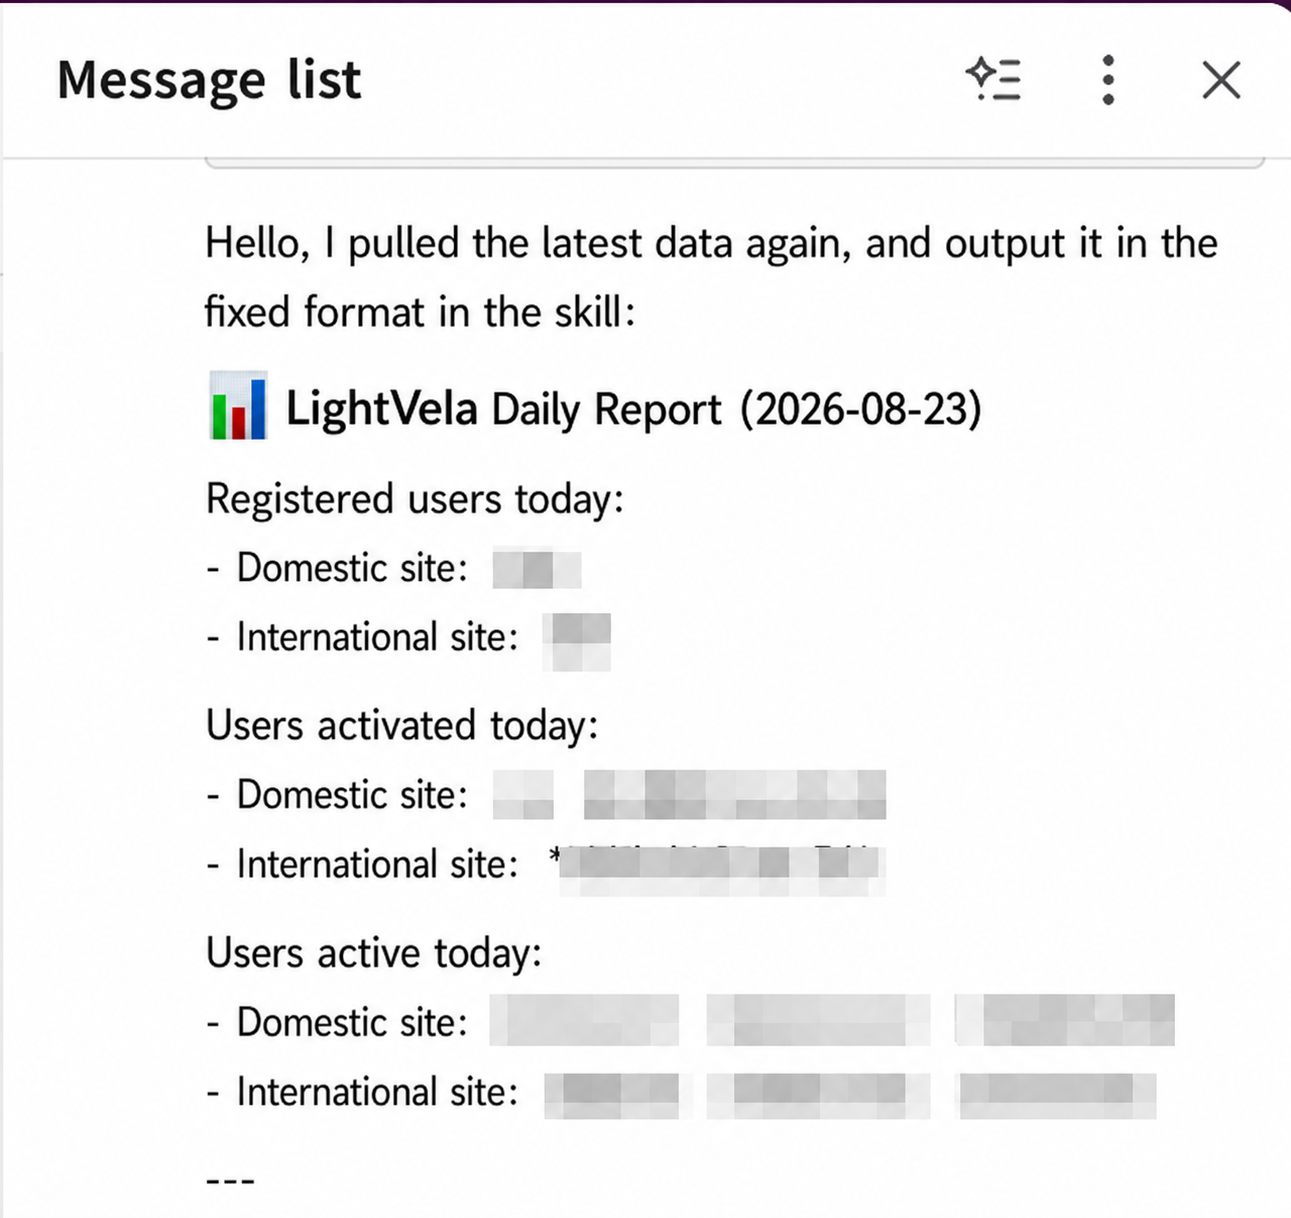
Step 4: Set up daily delivery
Once the one-off report works, turn it into a scheduled task. You can configure it from LightVela’s Automations page, or tell the Agent the execution time, data range, destination channel, and failure behavior directly in chat. After that, return to Automations to review each execution record.
You can say:
Every day at 10:00 AM, fetch the complete data from yesterday and send it to the specified Slack channel using the “LightVela Usage Daily Report” template. If the fetch fails, notify me in the same channel and explain the reason.There is one easy-to-miss detail here. If the task only says “send a daily report,” the Agent still has to guess the data date, format, and destination. State all three explicitly and scheduled delivery will be much more reliable.
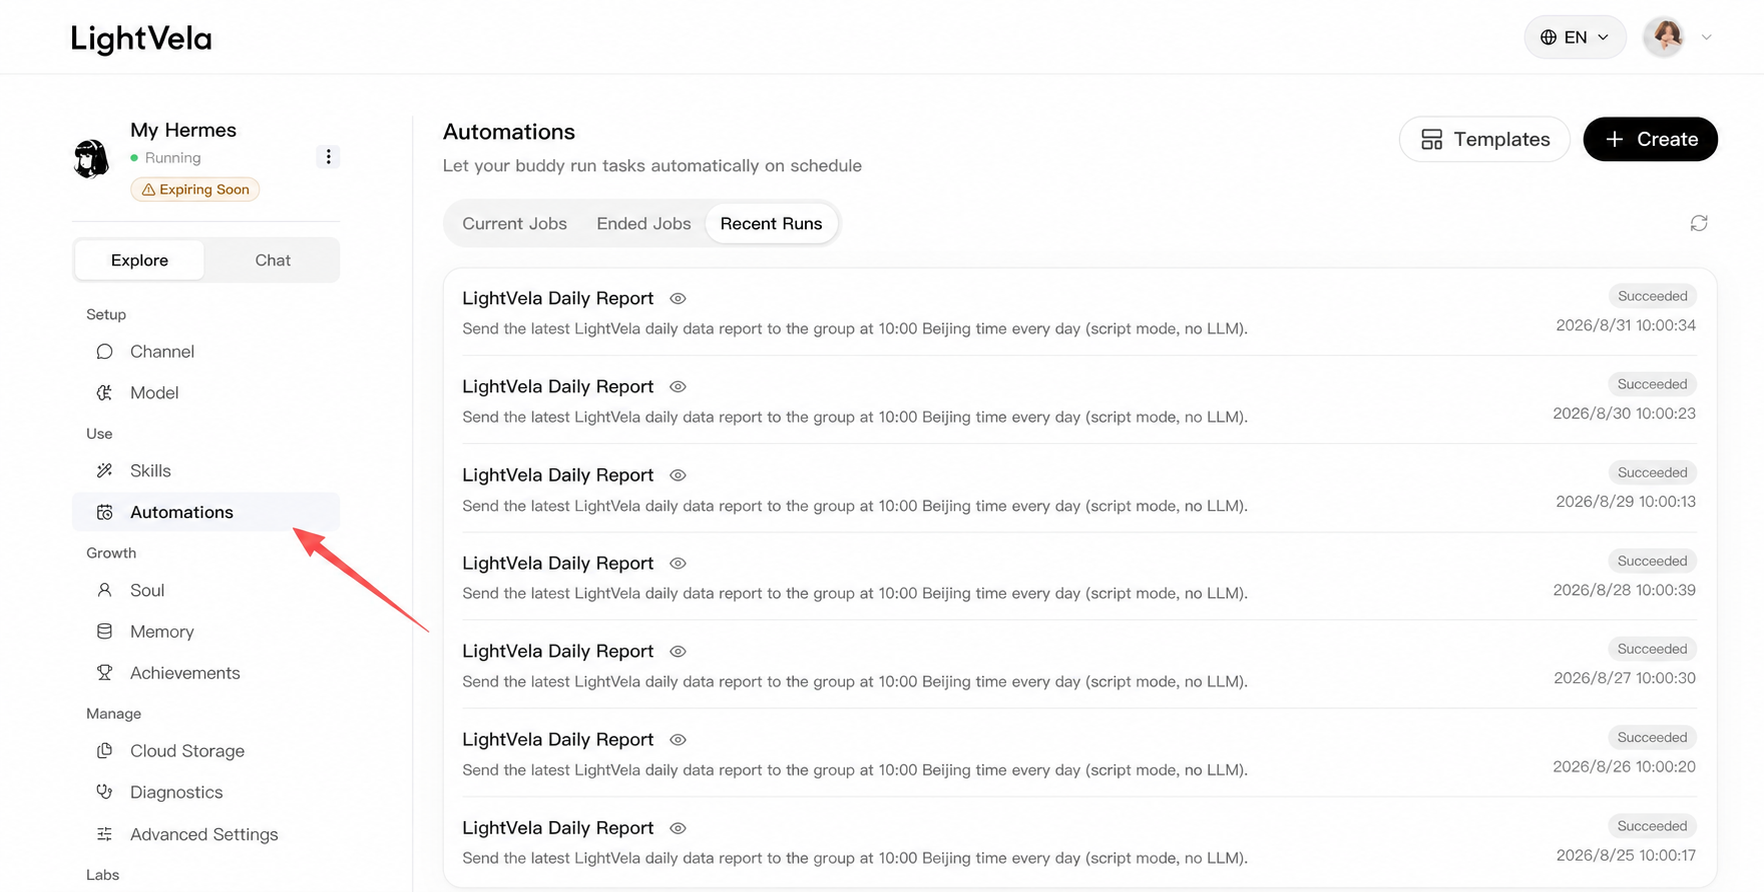
Step 5: Connect Notion and turn chat into a knowledge base
Once the Agent is in the work group, it can help organize the conversation history. I want it to capture three types of information: progress on product issues, newly surfaced feature ideas, and action items that someone needs to continue. A summary posted in the group is not enough because the messages will keep moving upward, so I connected Notion as well.
Notion provides an MCP that the Agent can call. In the conversation with lightvela, run the following command:
hermes mcp add \\n --url https://mcp.notion.com/mcp \\n --auth oauth \\n notionFollow the returned prompts to complete OAuth authorization. I recommend authorizing only the page or database intended for group-chat summaries instead of opening the entire workspace at once. After authorization, restart MCP. Other channels can use /reload-mcp; Slack disables slash commands, so use !reload-mcp there.
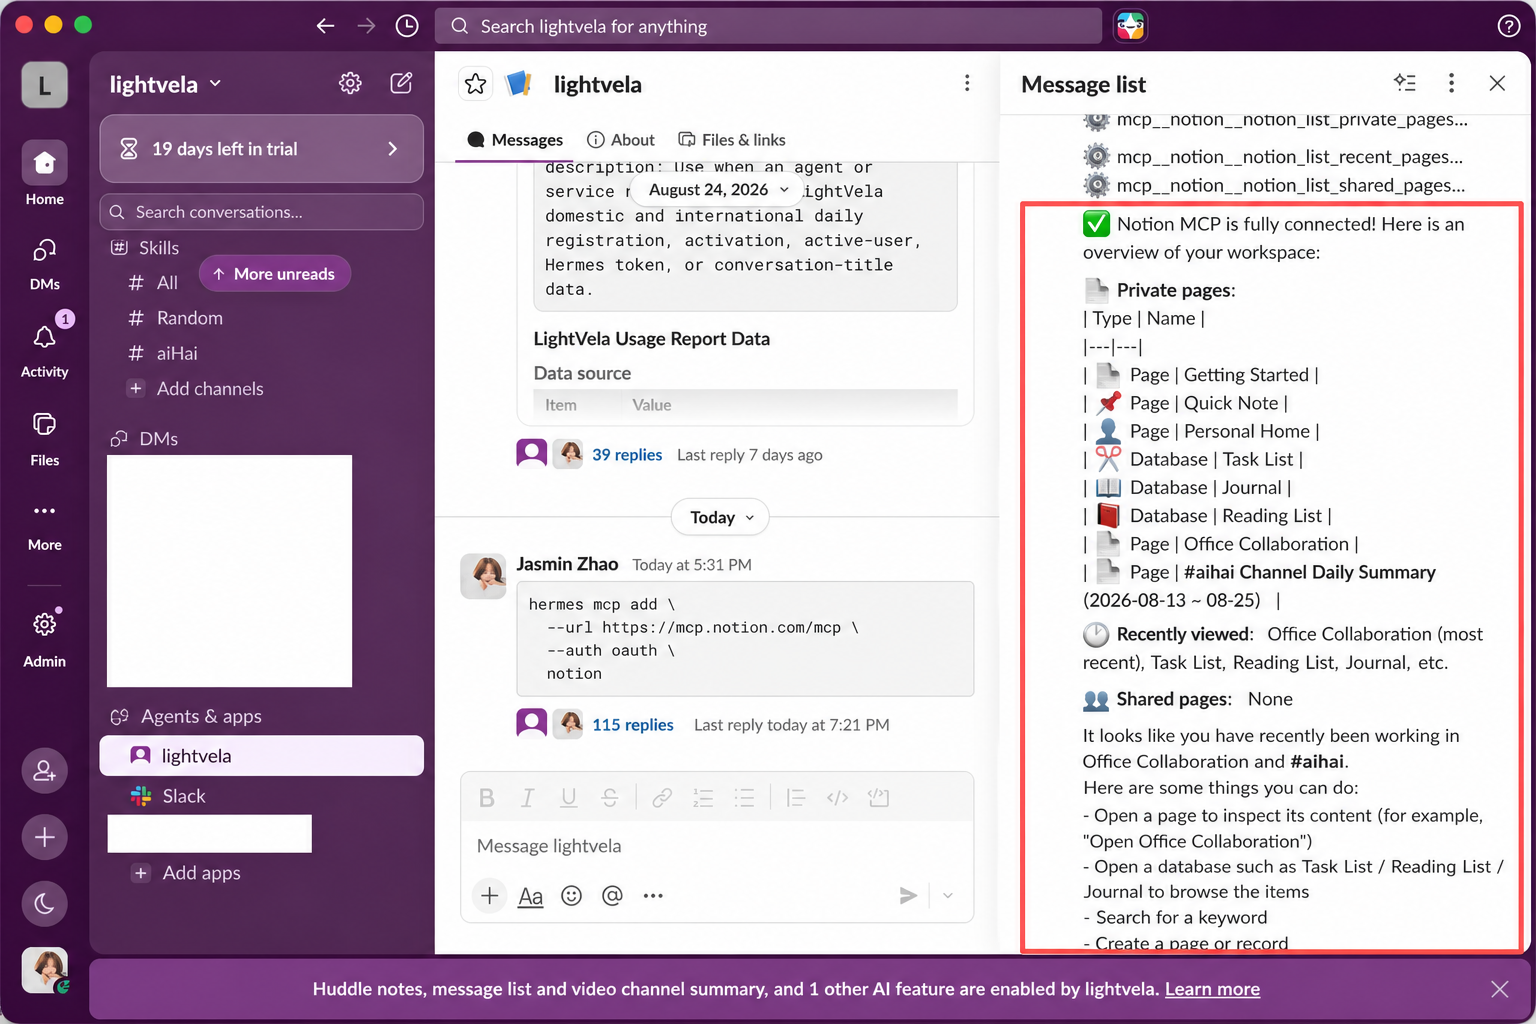
After confirming that lightvela can read the target page, give it a fixed instruction such as: Before the weekly meeting, summarize the specified channel and organize it into “Key progress, Open questions, Owners, and Next steps,” then append it to the corresponding Notion page. This means the team no longer has to scroll through the conversation from the beginning during a meeting. Everyone can start with the unfinished items and continue from there.
Today, lightvela has a specific role in our Slack: it sends the daily data report, regularly organizes group conversations, and writes the parts worth preserving into Notion. It has not replaced the team’s judgment, but it has taken over the work that is easy to forget and tedious to move between tools. For me, this is already the outline of a digital employee. As we use it more deeply, we can keep adding Skills so that it understands the business and the way the team collaborates better over time.