
How Do I Activate My First Hermes Instance?
Summary
After signing in with Google or GitHub and activating an available plan, open the Agent console. Complete the first Bot setup: enter a required name, optionally add a description, and adjust its appearance. Select Create and wait for creation and initial configuration to finish. Select Start your journey once configuration finishes, then open Web Chat for that Bot. A messaging channel is optional; available plan model credits or a configured model are required for replies.
The close control and advanced copy options are provided only when valid existing copy sources are available. The first setup without a source must be completed. Appearance controls let you change color, shape, and accessories; they do not choose the copy source.
What this page covers
-
The complete process for activating your first Hermes instance
-
Prerequisites and important details for each step
-
How to configure and use your Agent after activation
Prerequisites
-
A Google or GitHub account
-
A currently available plan selected from the Subscribe page; the international site does not require China real-name verification
-
A Telegram, WhatsApp, Discord, Slack, or WeChat account only if you plan to use that messaging app
Activation flow
1. Sign in with Google or GitHub
Open LightVela and authorize access with Google or GitHub. Your LightVela account is created automatically the first time you sign in, so there is no separate password to set. Continue using the same sign-in identity on future visits to access the same Hermes instances and data.
2. Select an available plan on the Subscribe page
Open the Subscribe page to see which plans and quotas are currently available. Plans describes the Launch and Cruise resource structure, but the Subscribe page is authoritative for what can be activated now.
There is no China real-name verification step on the international site. After signing in with Google or GitHub, you can select any currently available plan.
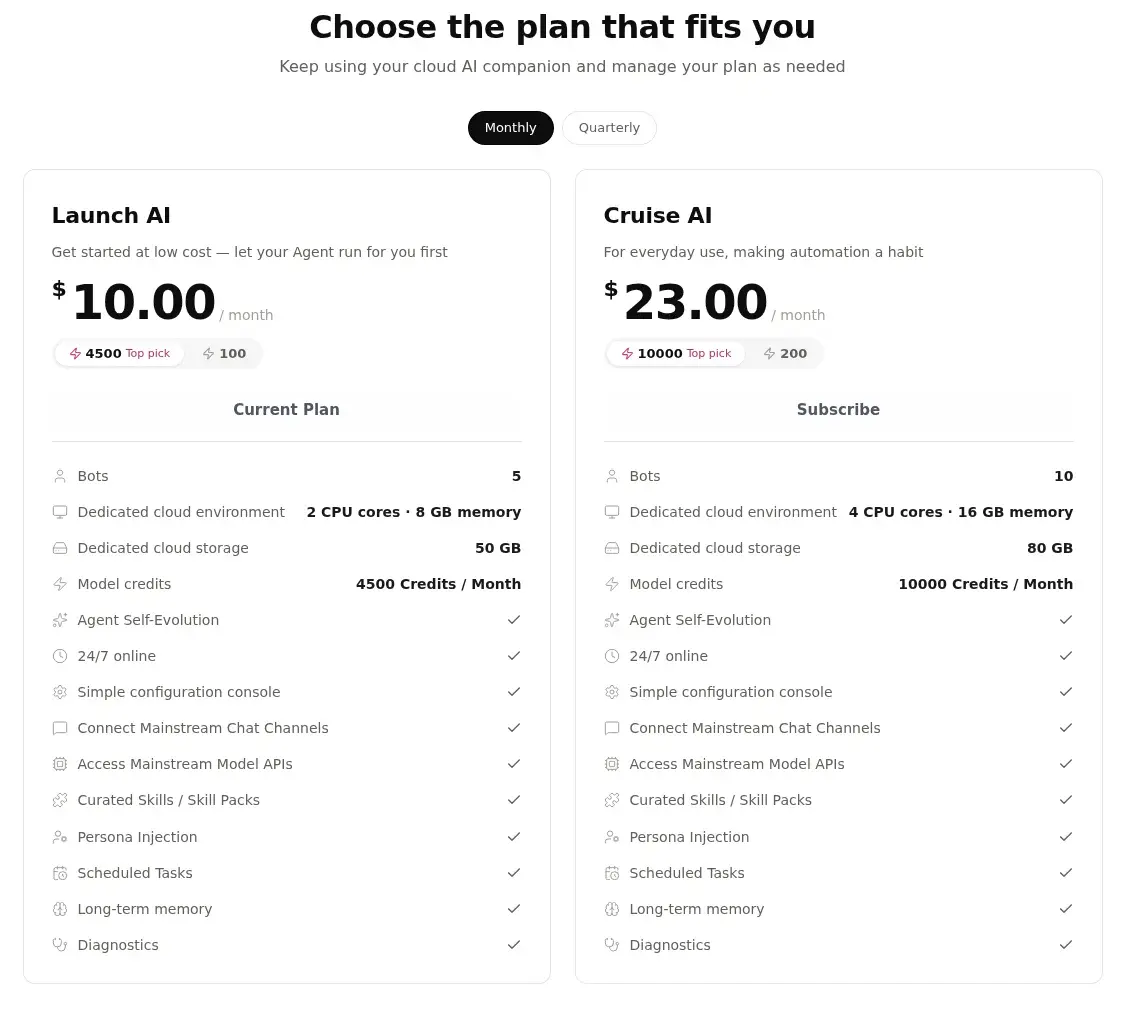
These plan cards are an interface example. Existing subscribers may see their current plan or an upgrade action. First-activation buttons, prices, offers and availability depend on the current account and page.
3. Activate the plan through the current international activation flow
Choose an available plan on the Subscribe page and follow the plan card to activate it. Check the page for current introductory offers and prices.
4. Complete the first Bot setup
After signing in with Google or GitHub and activating an available plan, open the Agent console. Complete the first Bot setup: enter a required name, optionally add a description, and adjust its appearance. Select Create and wait for creation and initial configuration to finish. Select Start your journey once configuration finishes, then open Web Chat for that Bot. A messaging channel is optional; available plan model credits or a configured model are required for replies.
5. Configure and wake up your Agent
Once the instance is ready, open the console and complete the basic setup:
-
Check the model — Available plan credits let you begin without your own API key; see Configure Models if needed
-
Try Web Chat — Start a conversation under Web Chat and send a message; see Chat
-
Connect a channel if needed — Add Telegram, WhatsApp, Discord, or WeChat to use the Bot in a messaging app
-
Optionally add skills and scheduled tasks — See Configure Scheduled Tasks
Your first Hermes Agent is now ready to stay online in the cloud 24/7.
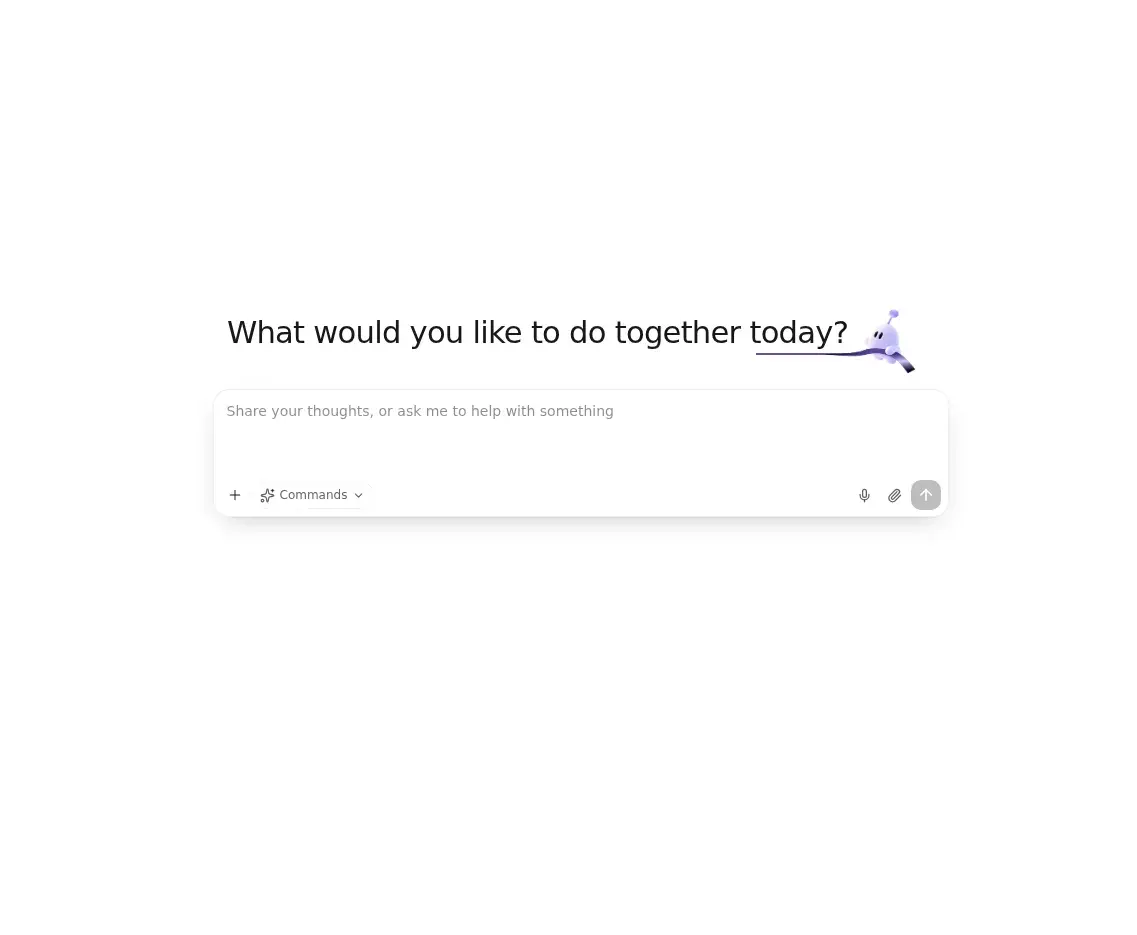
Web Chat after creation; this image does not show the first-Bot creation form.
FAQ
How soon can I use the instance after activation?
After creation, confirm the new Bot name in the selector, open its Web Chat, and send a short test message. If creation or initial configuration reports a failure, follow the displayed retry action and inspect the Bot list before starting another creation. If no reply arrives, check the Bot status and model credits or model configuration.
Where can I check current plans and offers?
Check the Subscribe page and Plans for current plan terms, introductory offers, and renewal rules.
How many Hermes instances can one account activate?
The number depends on the Agent allowance of the selected plan. Launch and Cruise each include one Agent. See Plans.
Do I need to maintain a server after activation?
No. Your Hermes instance runs in a LightVela-managed cloud environment. LightVela handles operations and 24/7 availability; you only configure the Agent through the web console.
Next steps
-
Quickstart — Follow the complete onboarding flow
-
Plans — Compare the available plan structure
-
Core Concepts — Understand Hermes, models, channels, and skills
-
Configure Models — Choose the underlying model for your Agent
Last updated 2026-10-19